Fun With HandBrake Automation
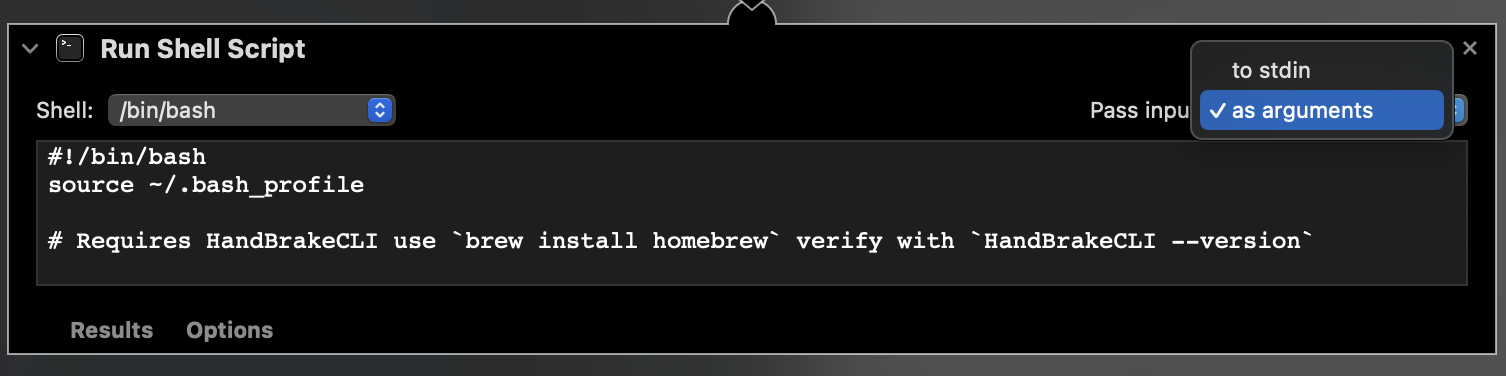
May 07, 2024 at 3:12PMWas finally able to finish a script to handle running HandBrake encodes. My use case is demo/functionality videos for merge requests. The key to making it work was updating the Automator action Pass input selection to As Arguments.
Spoiler
Feel free to cheat and download a previously created quick action built to work with a preset name1080p30 (NO AUDIO) and a folder name ~\Pictures\ScreenShots. Simply unzip and double click. download here
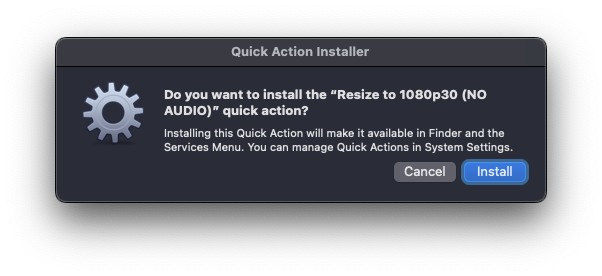
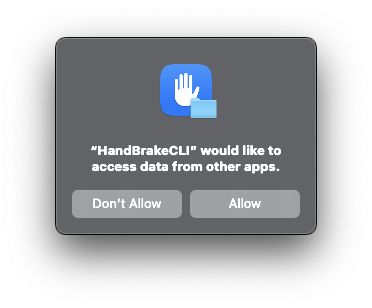
Once it is added right-click on the video in Finder to run the action and skip the creation steps below. You may need to allow the following if this is the first time using HandBrake CLI.
Build You Own
Tools
- HandBrake (download)
- HandBrakeCLI (installed w/
brew install handbrake) - Automator.app
Steps
- HandBrake.app (GUI): Create a preset use with the shortcut.
- (e.g.
1080p30 (NO AUDIO))
- (e.g.
- Automator.app: Create a new quick action.
- Add single Run Shell Script item.

- Automator.app: Update the Run Shell Script with the following script and save.
- NOTE: Be sure to replace the
1080p30 (NO AUDIO)with your preset name.
- NOTE: Be sure to replace the
#!/bin/bash
source ~/.bash_profile

# Requires HandBrakeCLI use `brew install homebrew` verify with `HandBrakeCLI --version`

#read -p "Enter prepend name for output file:" fileName

for file in "$@";
 do
	# Custom Path = ~/Pictures/ScreenShots
	# File Path  = $(dirname "$file")

	output_dir=$(dirname "$file")
	base_name=$(basename "$file" .${file##*.}) # Strip file extension

	#echo "Processing file: $file"
	#read -p "Enter name for output file you would like to install: " arg1

    # Run HandBrakeCLI command
	# User Preset = --preset-import-gui
	# App Preset = --preset
	HandBrakeCLI --preset-import-gui -Z "1080p30 (NO AUDIO)" -i "$file" -o "${output_dir}/${base_name}1080p30.mp4"

done
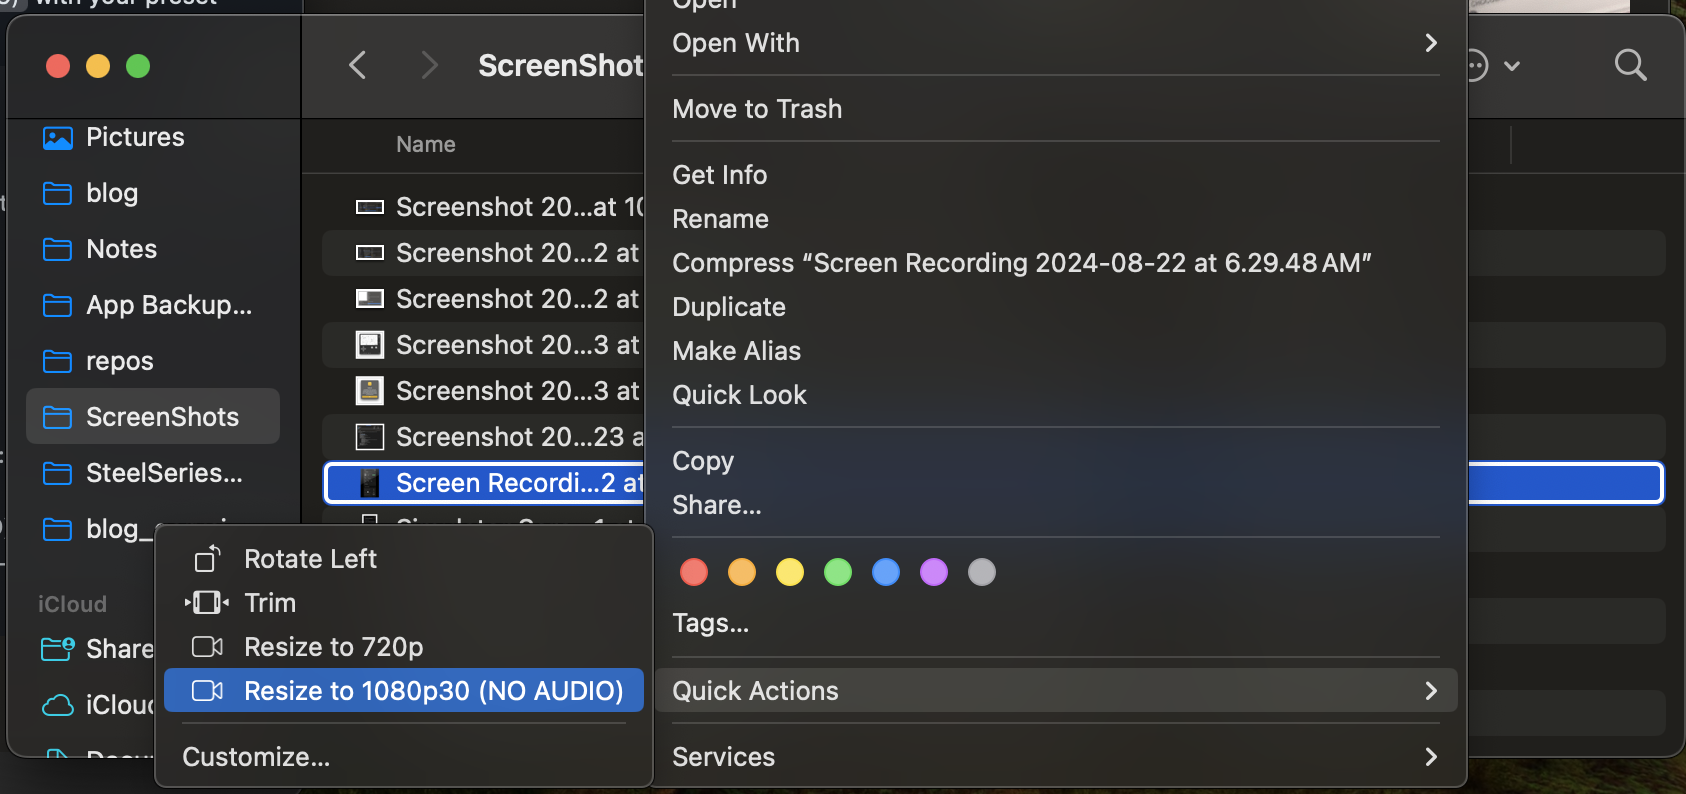
Once its all setup you can access the Quick Action using the finder right-click menu.
Happy Coding ;-)